Mushroom Photography Without a Macro Lens: How I Used Focus Stacking
Landscape photography covers a lot of different subjects, and over the last few weeks I’ve been trying some of the areas of photography that I don’t normally spend much time shooting. Mushroom photography is one of them. I’ve photographed mushrooms before, but it isn’t something I regularly go out specifically to do, so when the opportunity came around this year, I decided to give it another go.
I wanted to get into the woods relatively early in the mushroom season. The location is close to home and is somewhere I already know well because I visit it with my family and have photographed there many times. Knowing the location meant I could concentrate more on finding suitable subjects rather than spending time working out where I was going.
Timing was also important. Last year, I left it later in the season and many of the mushrooms I found had already been damaged by insects. This time, I wanted to see if getting there earlier would give me a better selection of subjects.
There was one obvious problem. A lot of mushroom photography relies on macro lenses and controlled lighting. I had neither with me. My main lens for the shoot was my Sigma 24-105mm Art lens, so rather than treating the lack of a macro lens as a reason not to take the photographs, I decided to work with what I had.
The main technique I relied on was focus stacking.
Focus stacking involves taking several photographs of the same subject while changing the point of focus between each frame. The images can then be blended together in post-processing to create a final photograph with more of the subject in focus than would normally be possible in a single exposure.
This is particularly useful with close subjects because depth of field becomes very limited as you get closer to something. Rather than stopping the lens down excessively and potentially changing the look of the image, I could use a series of photographs and decide afterwards how much of the mushroom I wanted to keep sharp.
When I arrived in the woods, I immediately noticed the amount of green across the forest floor. There was also light coming through the trees, which gave me the opportunity to work with natural light rather than immediately setting up artificial lighting.
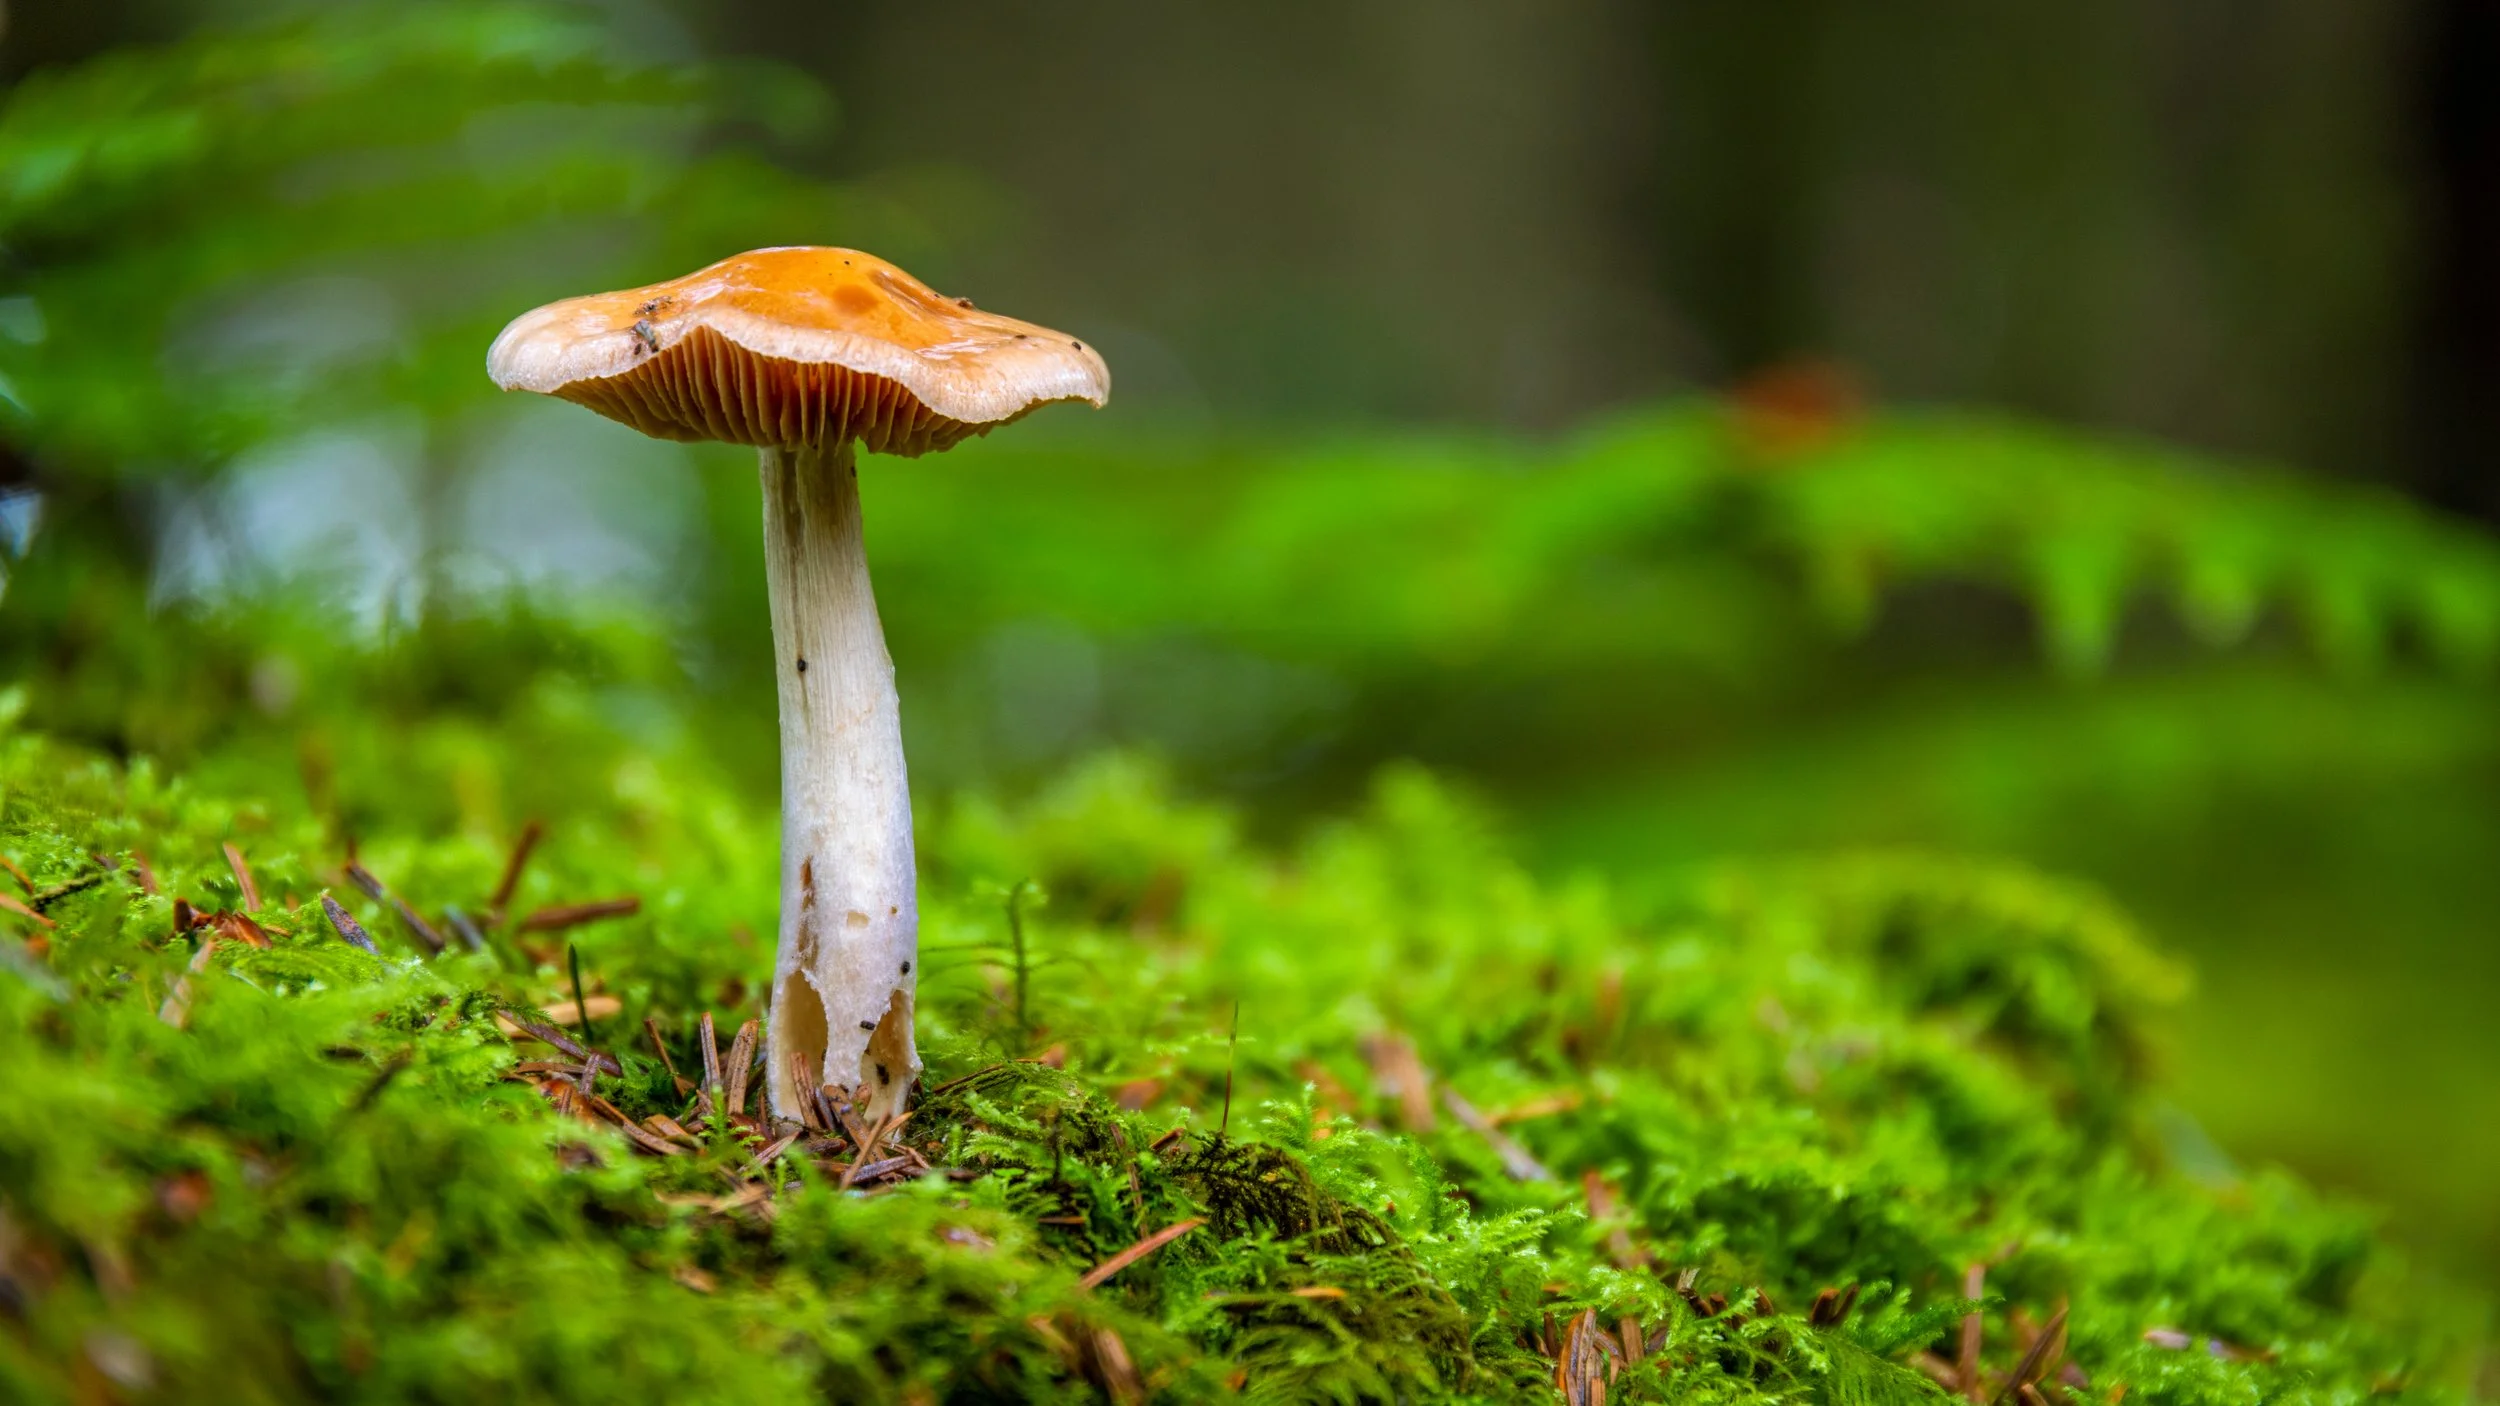
The first mushroom I found was on its own and was being lit by the available light. I decided not to add anything else to the scene.
I used an aperture of f/4 and worked through the mushroom by changing the focus point between photographs. I photographed different areas, including the stem, the underside and the top of the mushroom. In total, I took eight images.
The important point here is that I wasn’t simply taking eight identical photographs. Each frame had a different area of the mushroom in focus. That gave me the information I needed later when I combined the images.
For this type of photography, taking enough frames is important. If there is a section of the subject that isn’t sharp in any of your original photographs, focus stacking cannot create detail that you never captured. This is one of the biggest things to remember when using the technique.
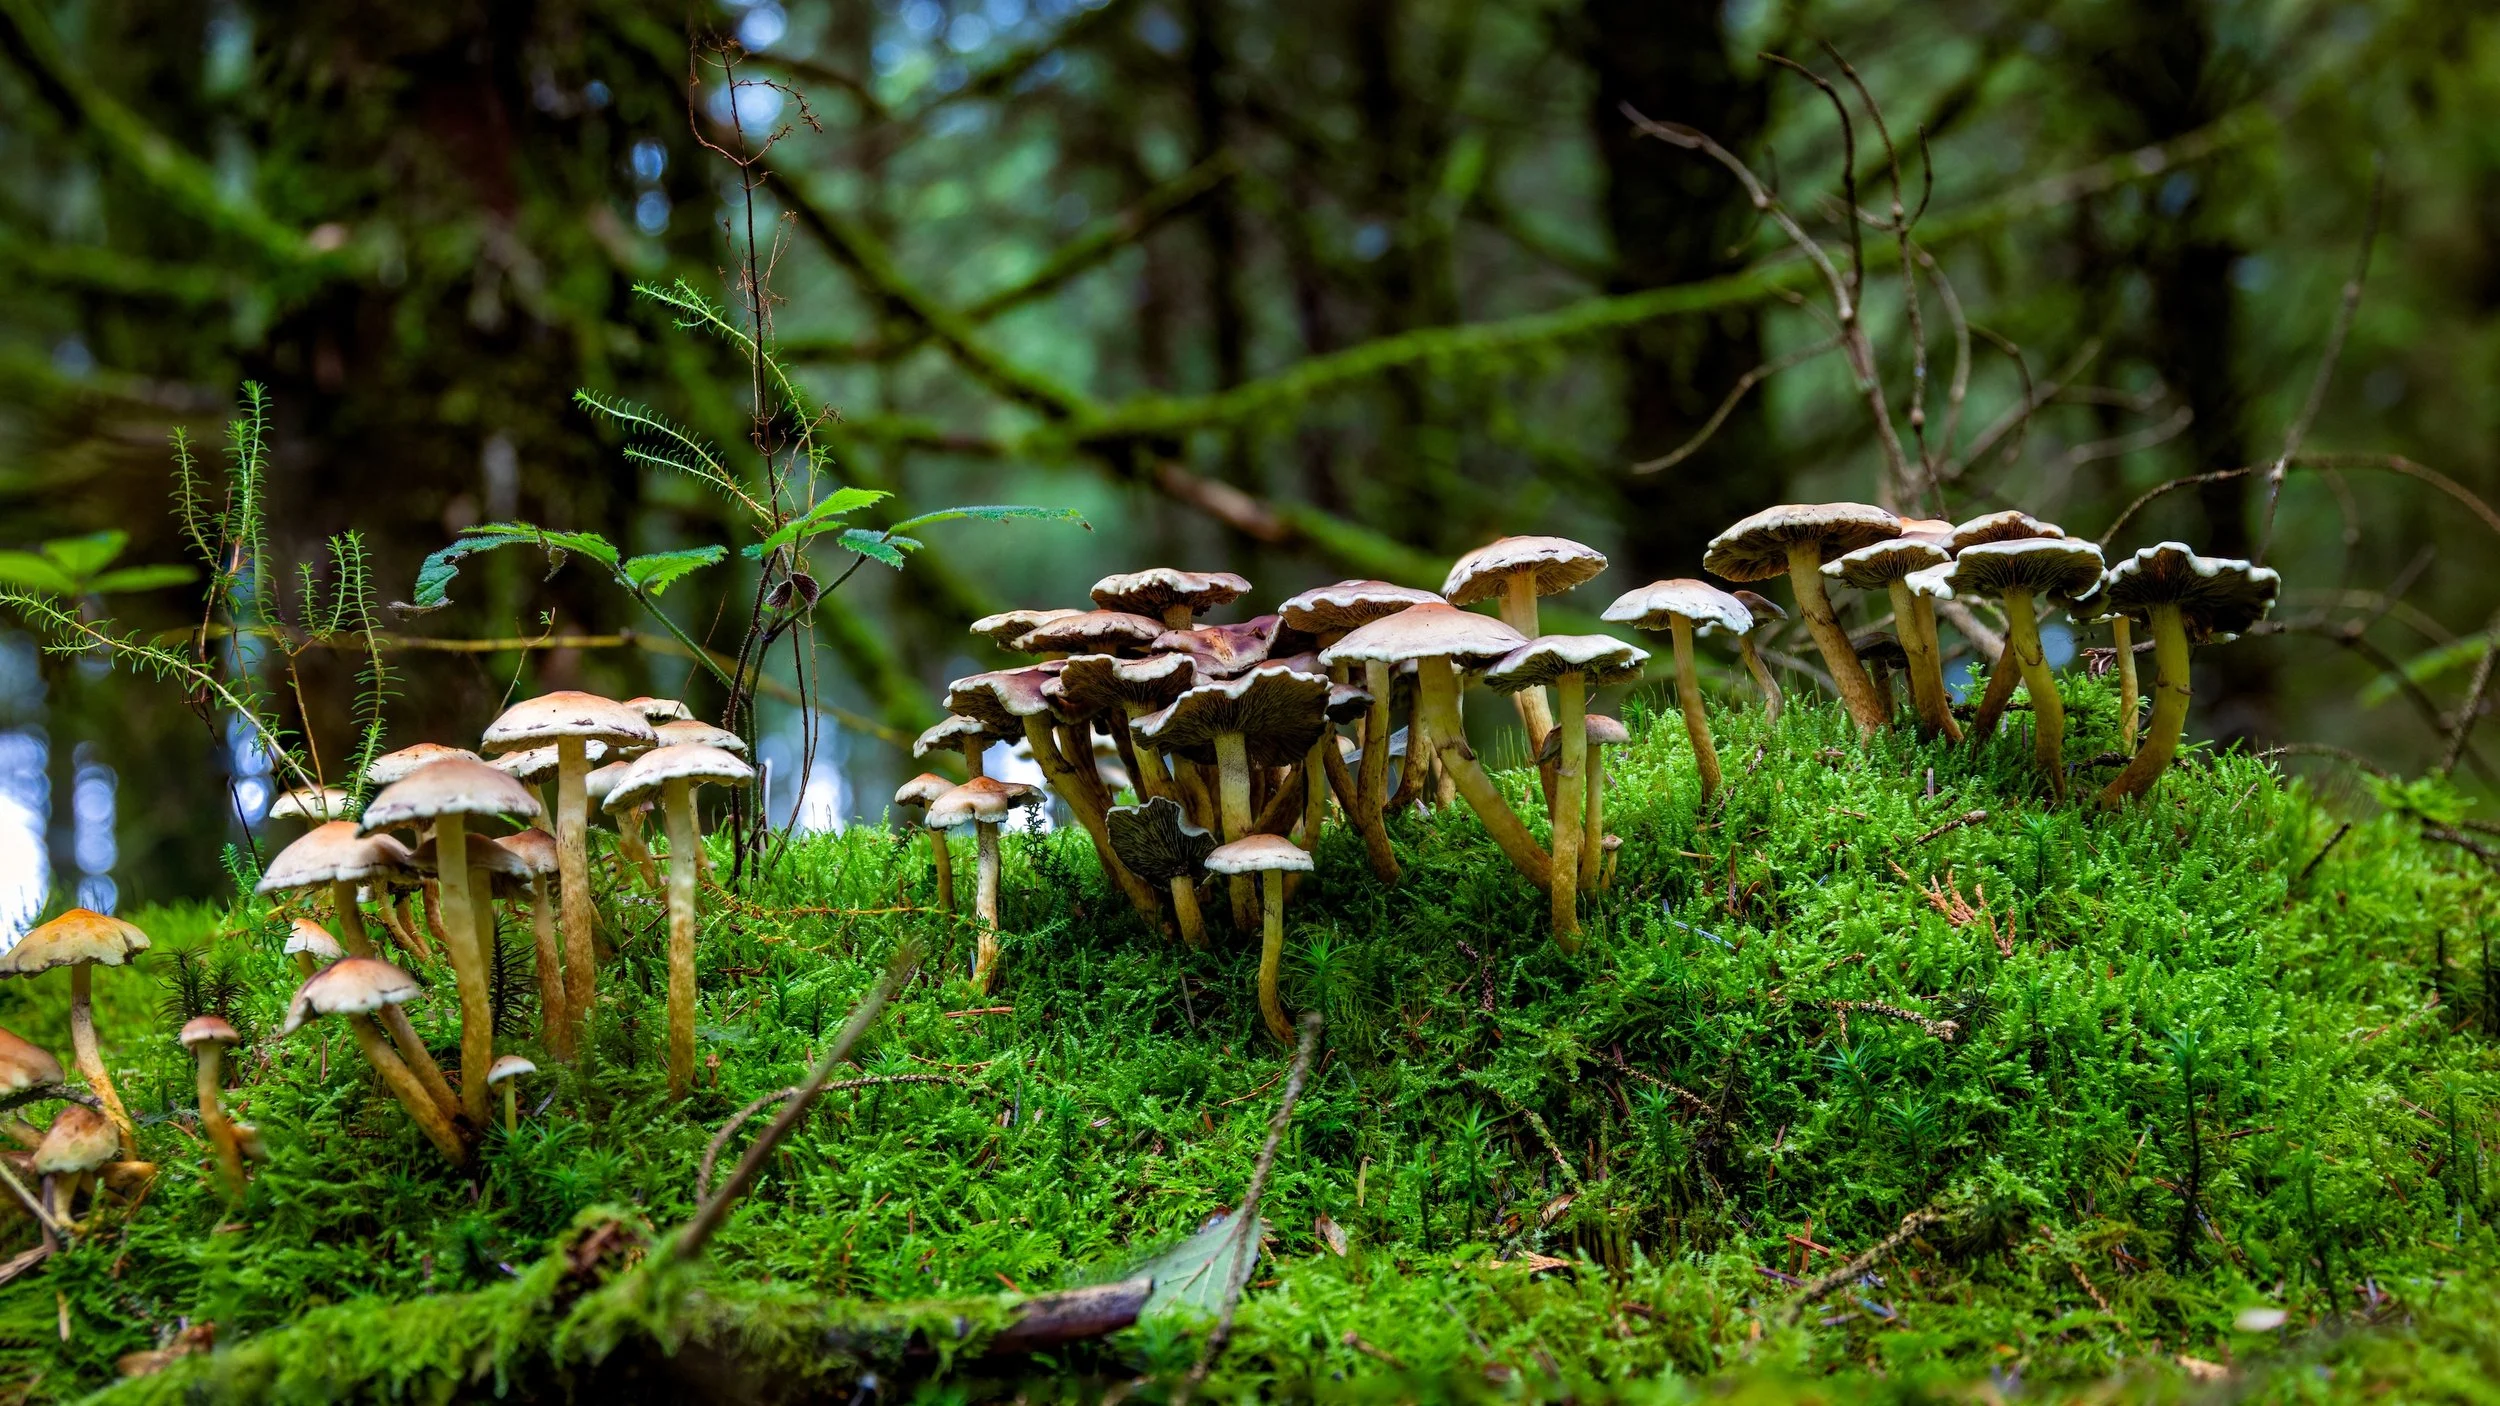
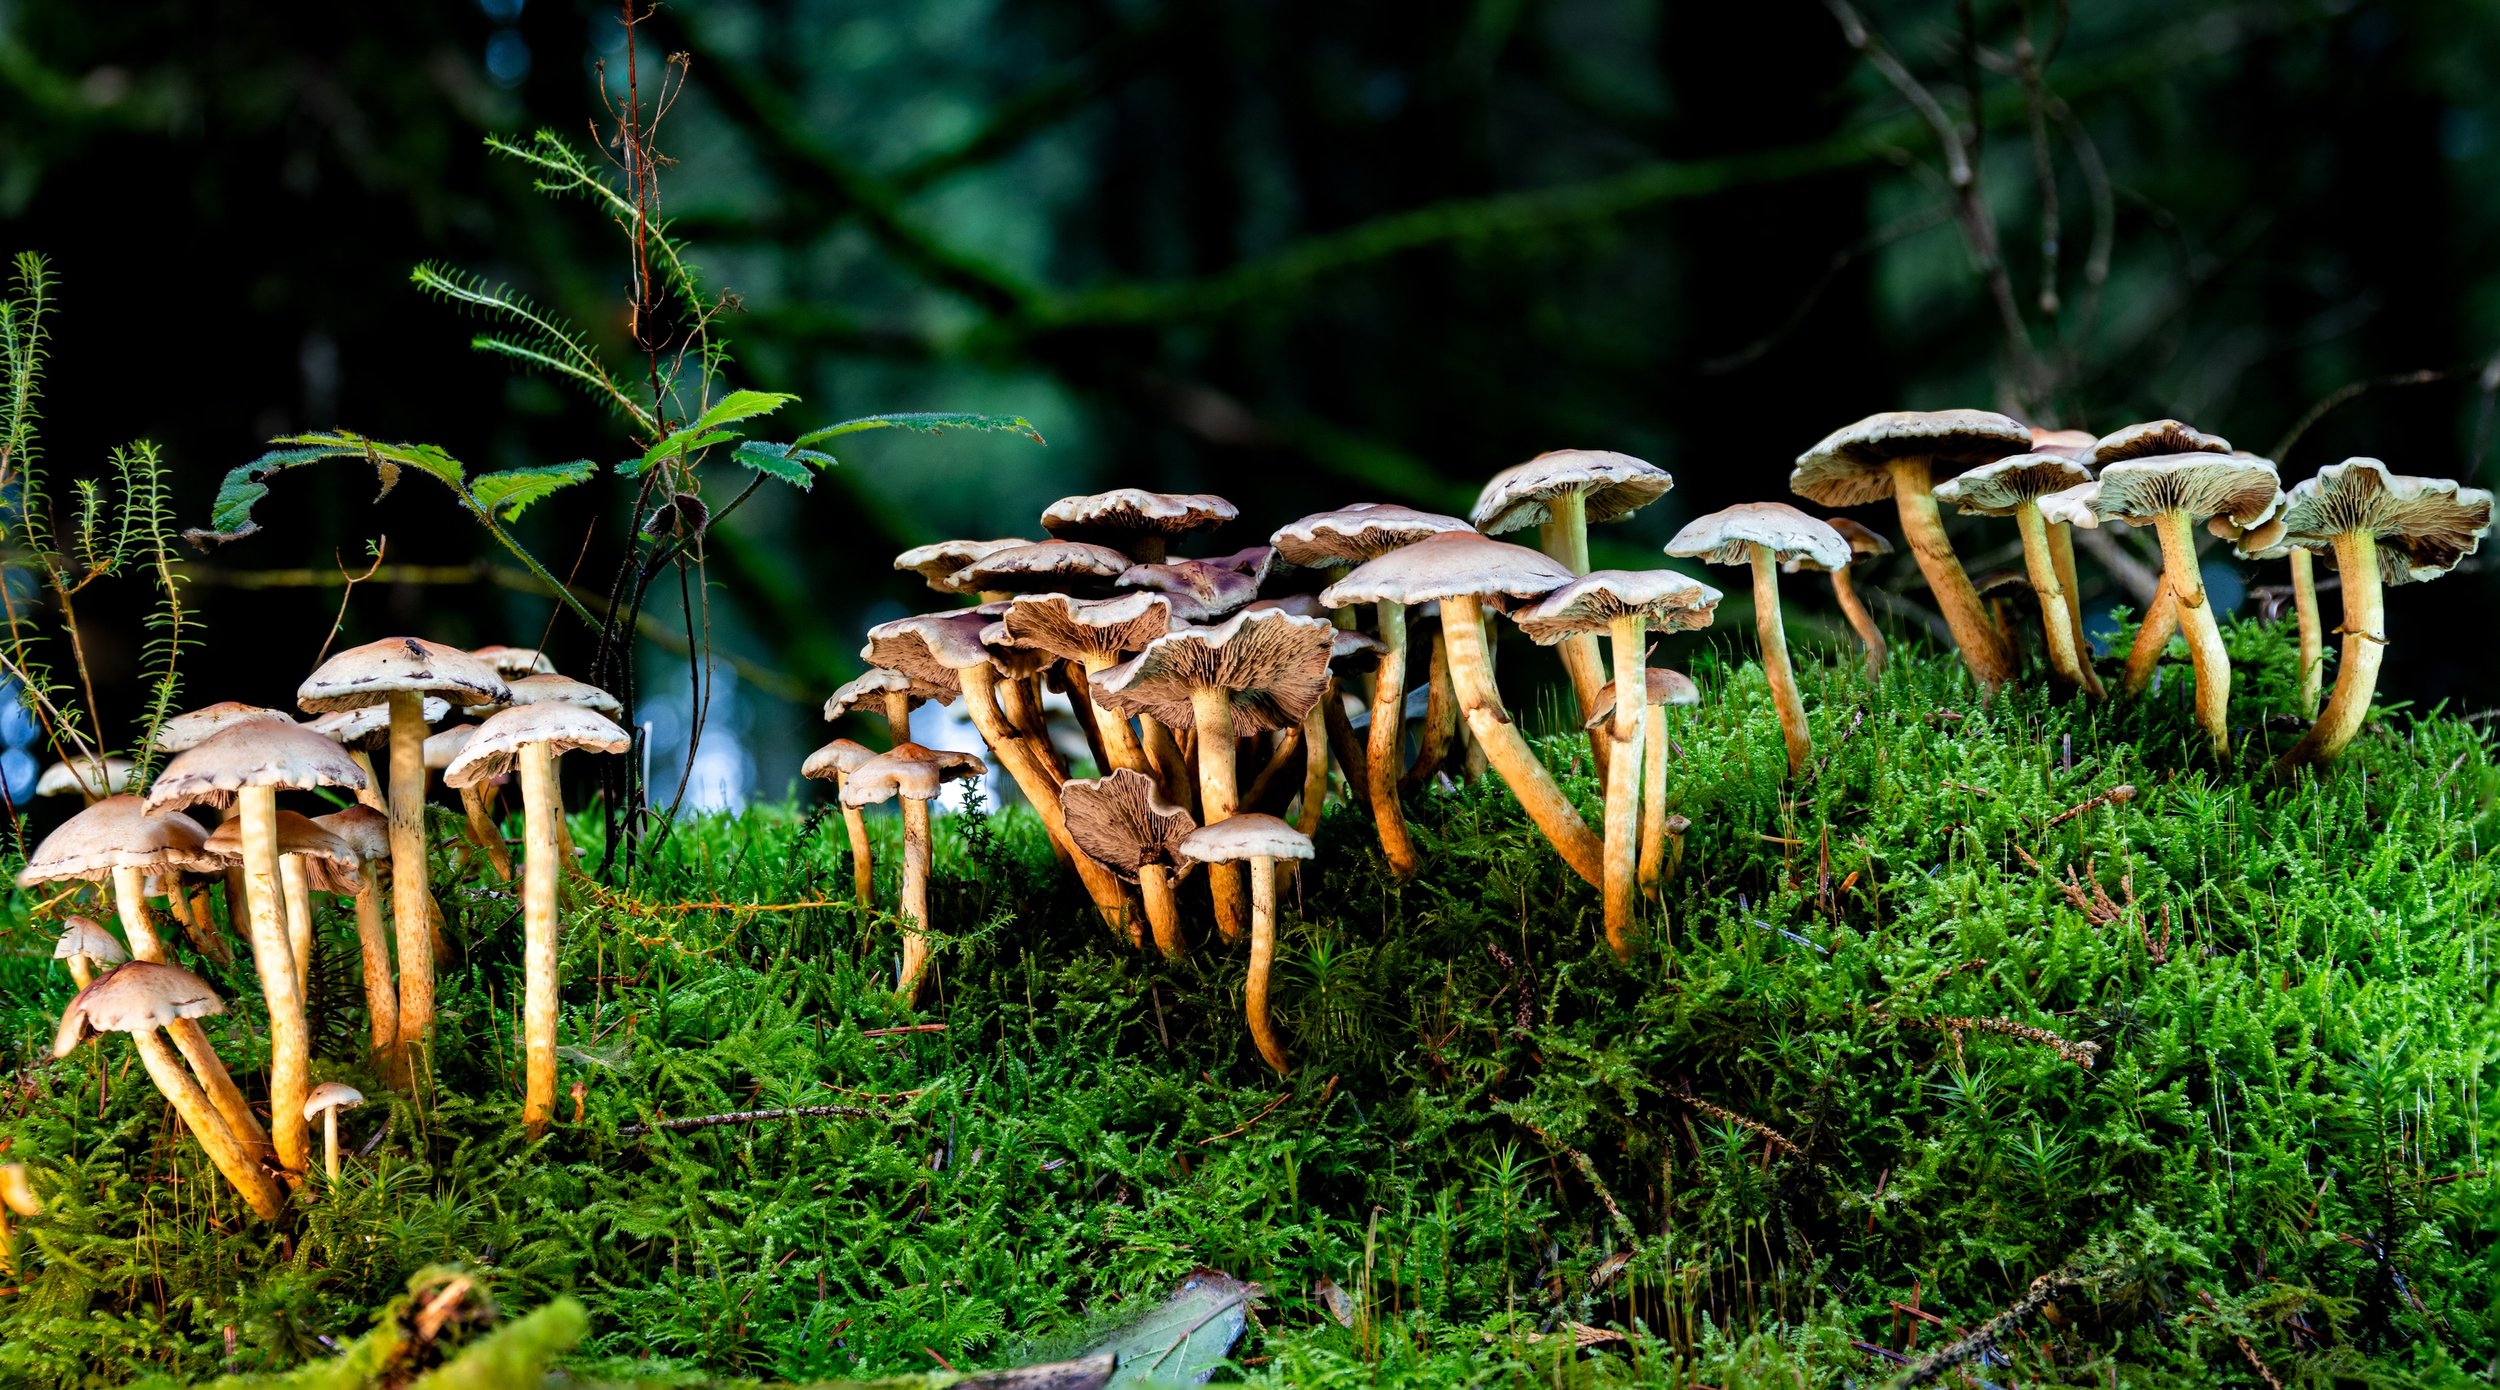
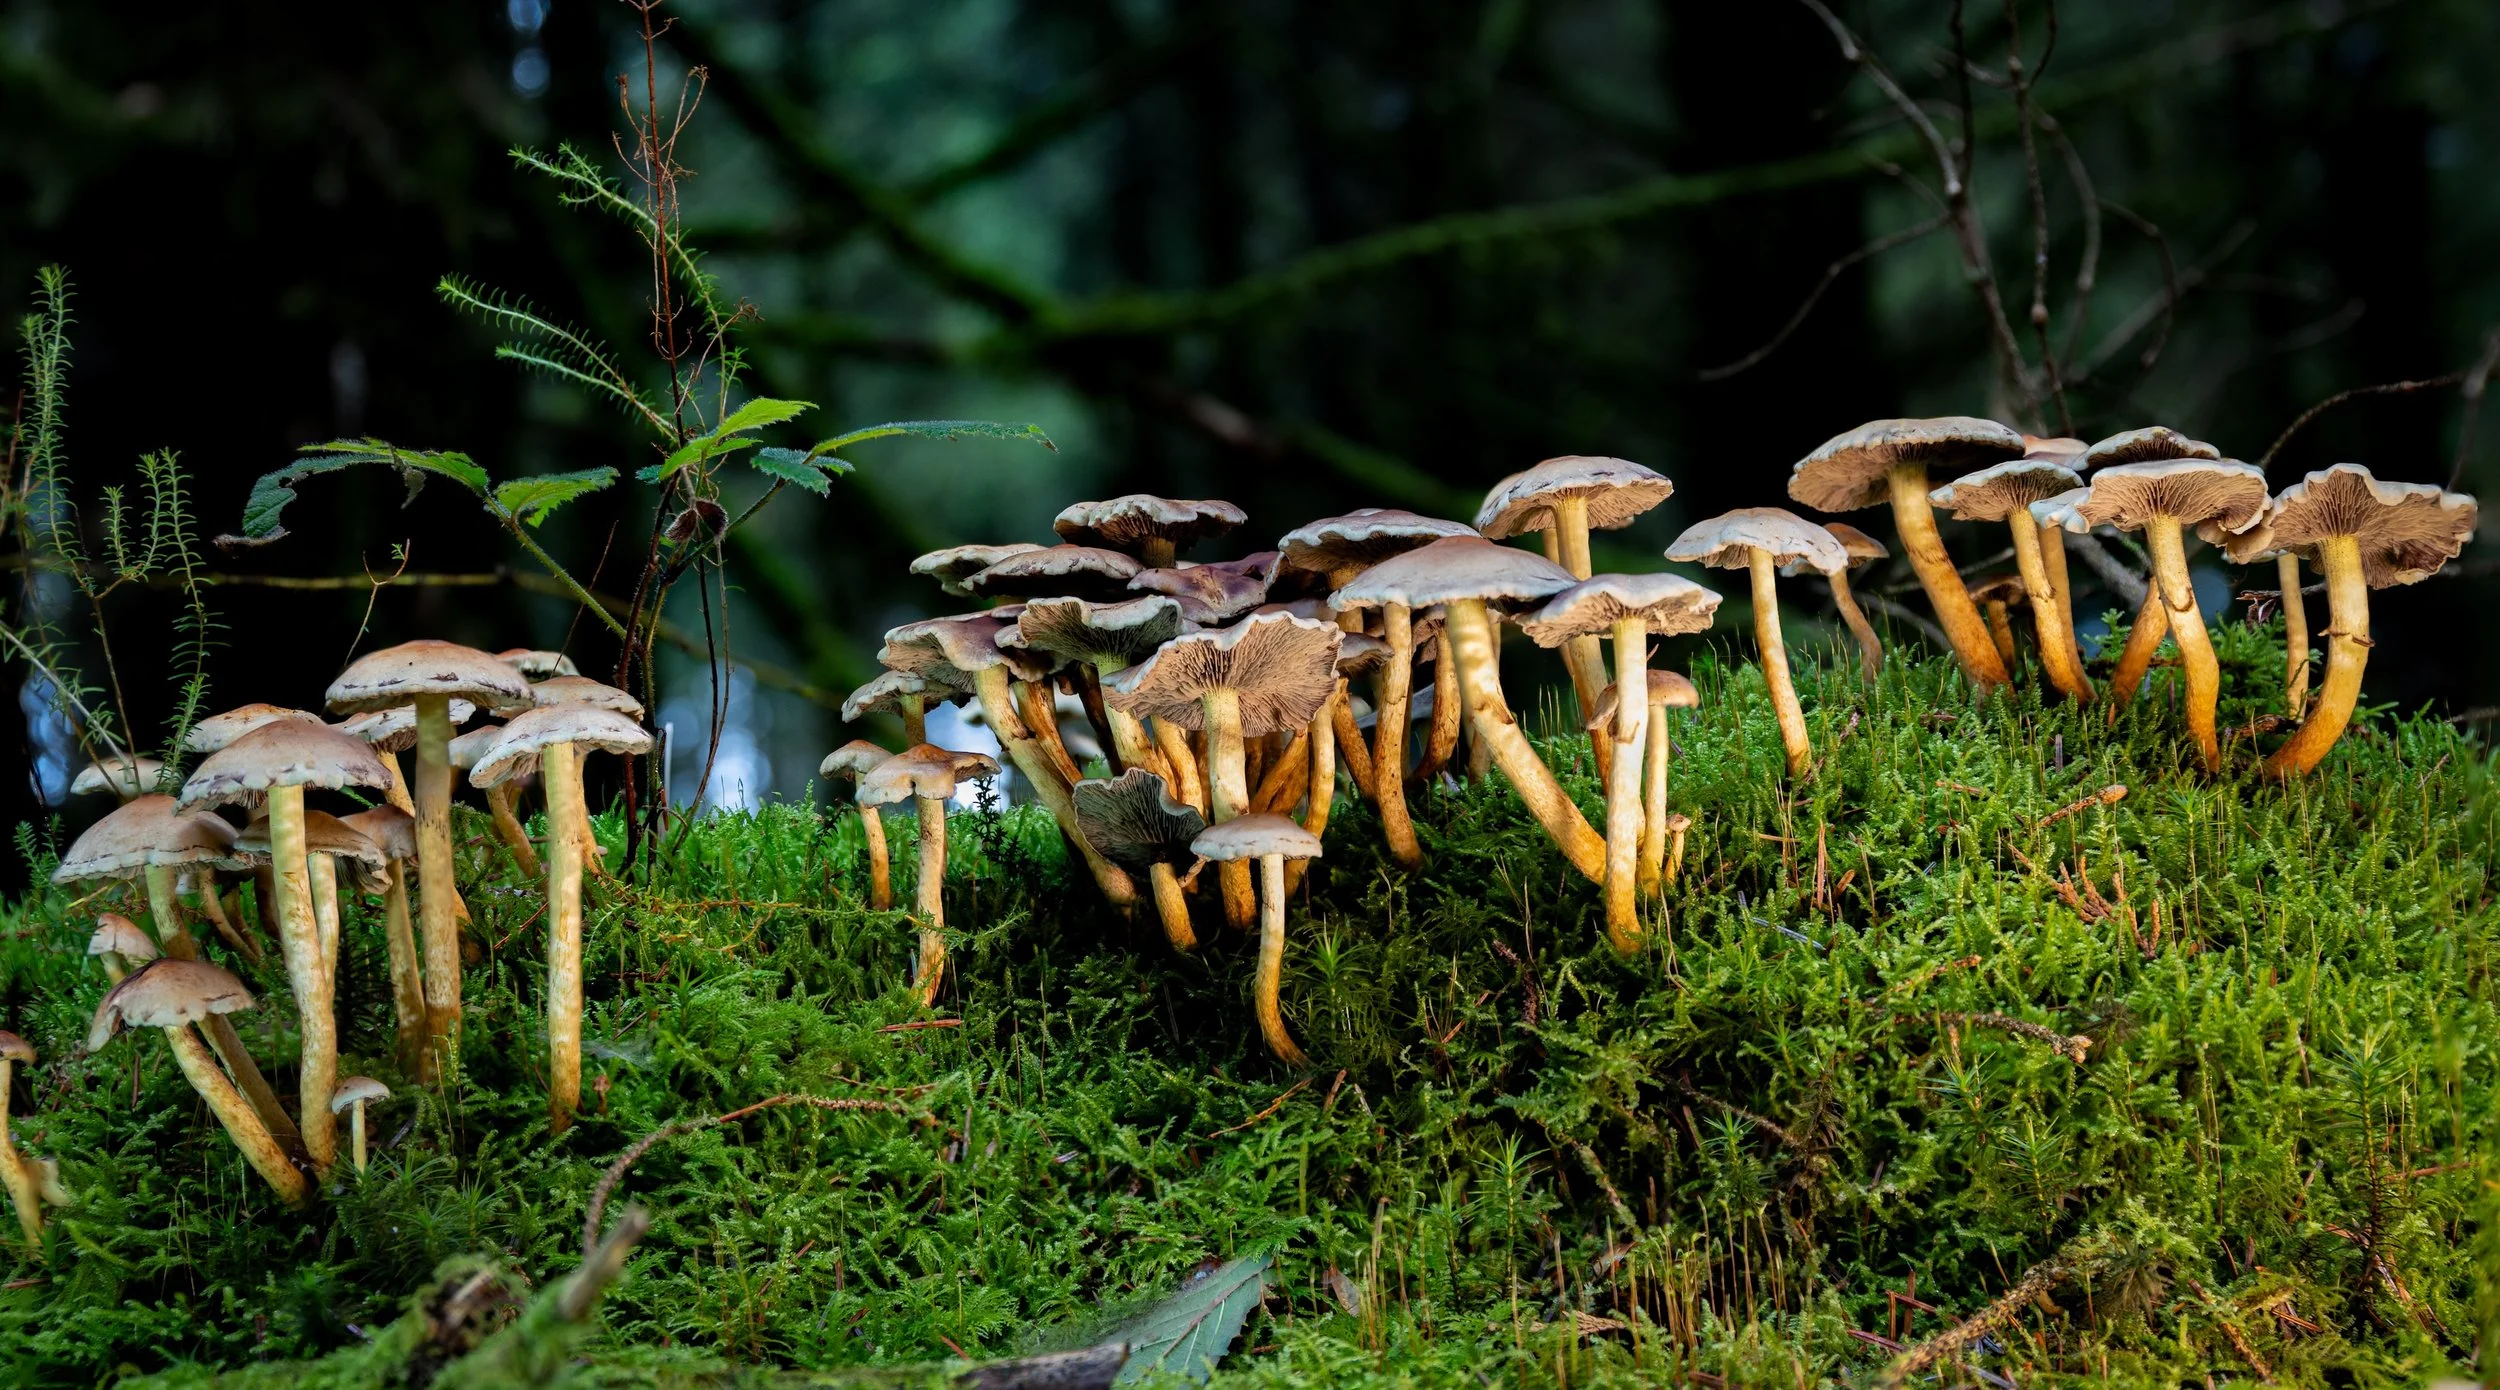
I then came across a much larger group of mushrooms growing together. Because there were so many of them, I didn’t need to get extremely close. I was able to photograph the group at 46mm on the Sigma 24-105mm.
This time I decided to experiment with artificial light.
I used a studio-quality light from litra that allowed me to adjust the Kelvin temperature. I set it to a warmer temperature and placed it to the left of the mushrooms. On the opposite side, I used my head torch, which produces a daylight-coloured light.
The two different light sources gave me a different result from using natural light alone. I then swapped the positions of the lights, putting the daylight source on the left and the warmer light on the right.
This gave me three different versions of the same composition.
For each version, I took 15 photographs at different focus points. That meant I had 45 photographs in total, which I eventually stacked into three separate images.
This was a useful reminder that the lighting can change the photograph just as much as the composition. I hadn’t moved the mushrooms or changed the basic framing, but changing the direction and colour of the light produced three different results.
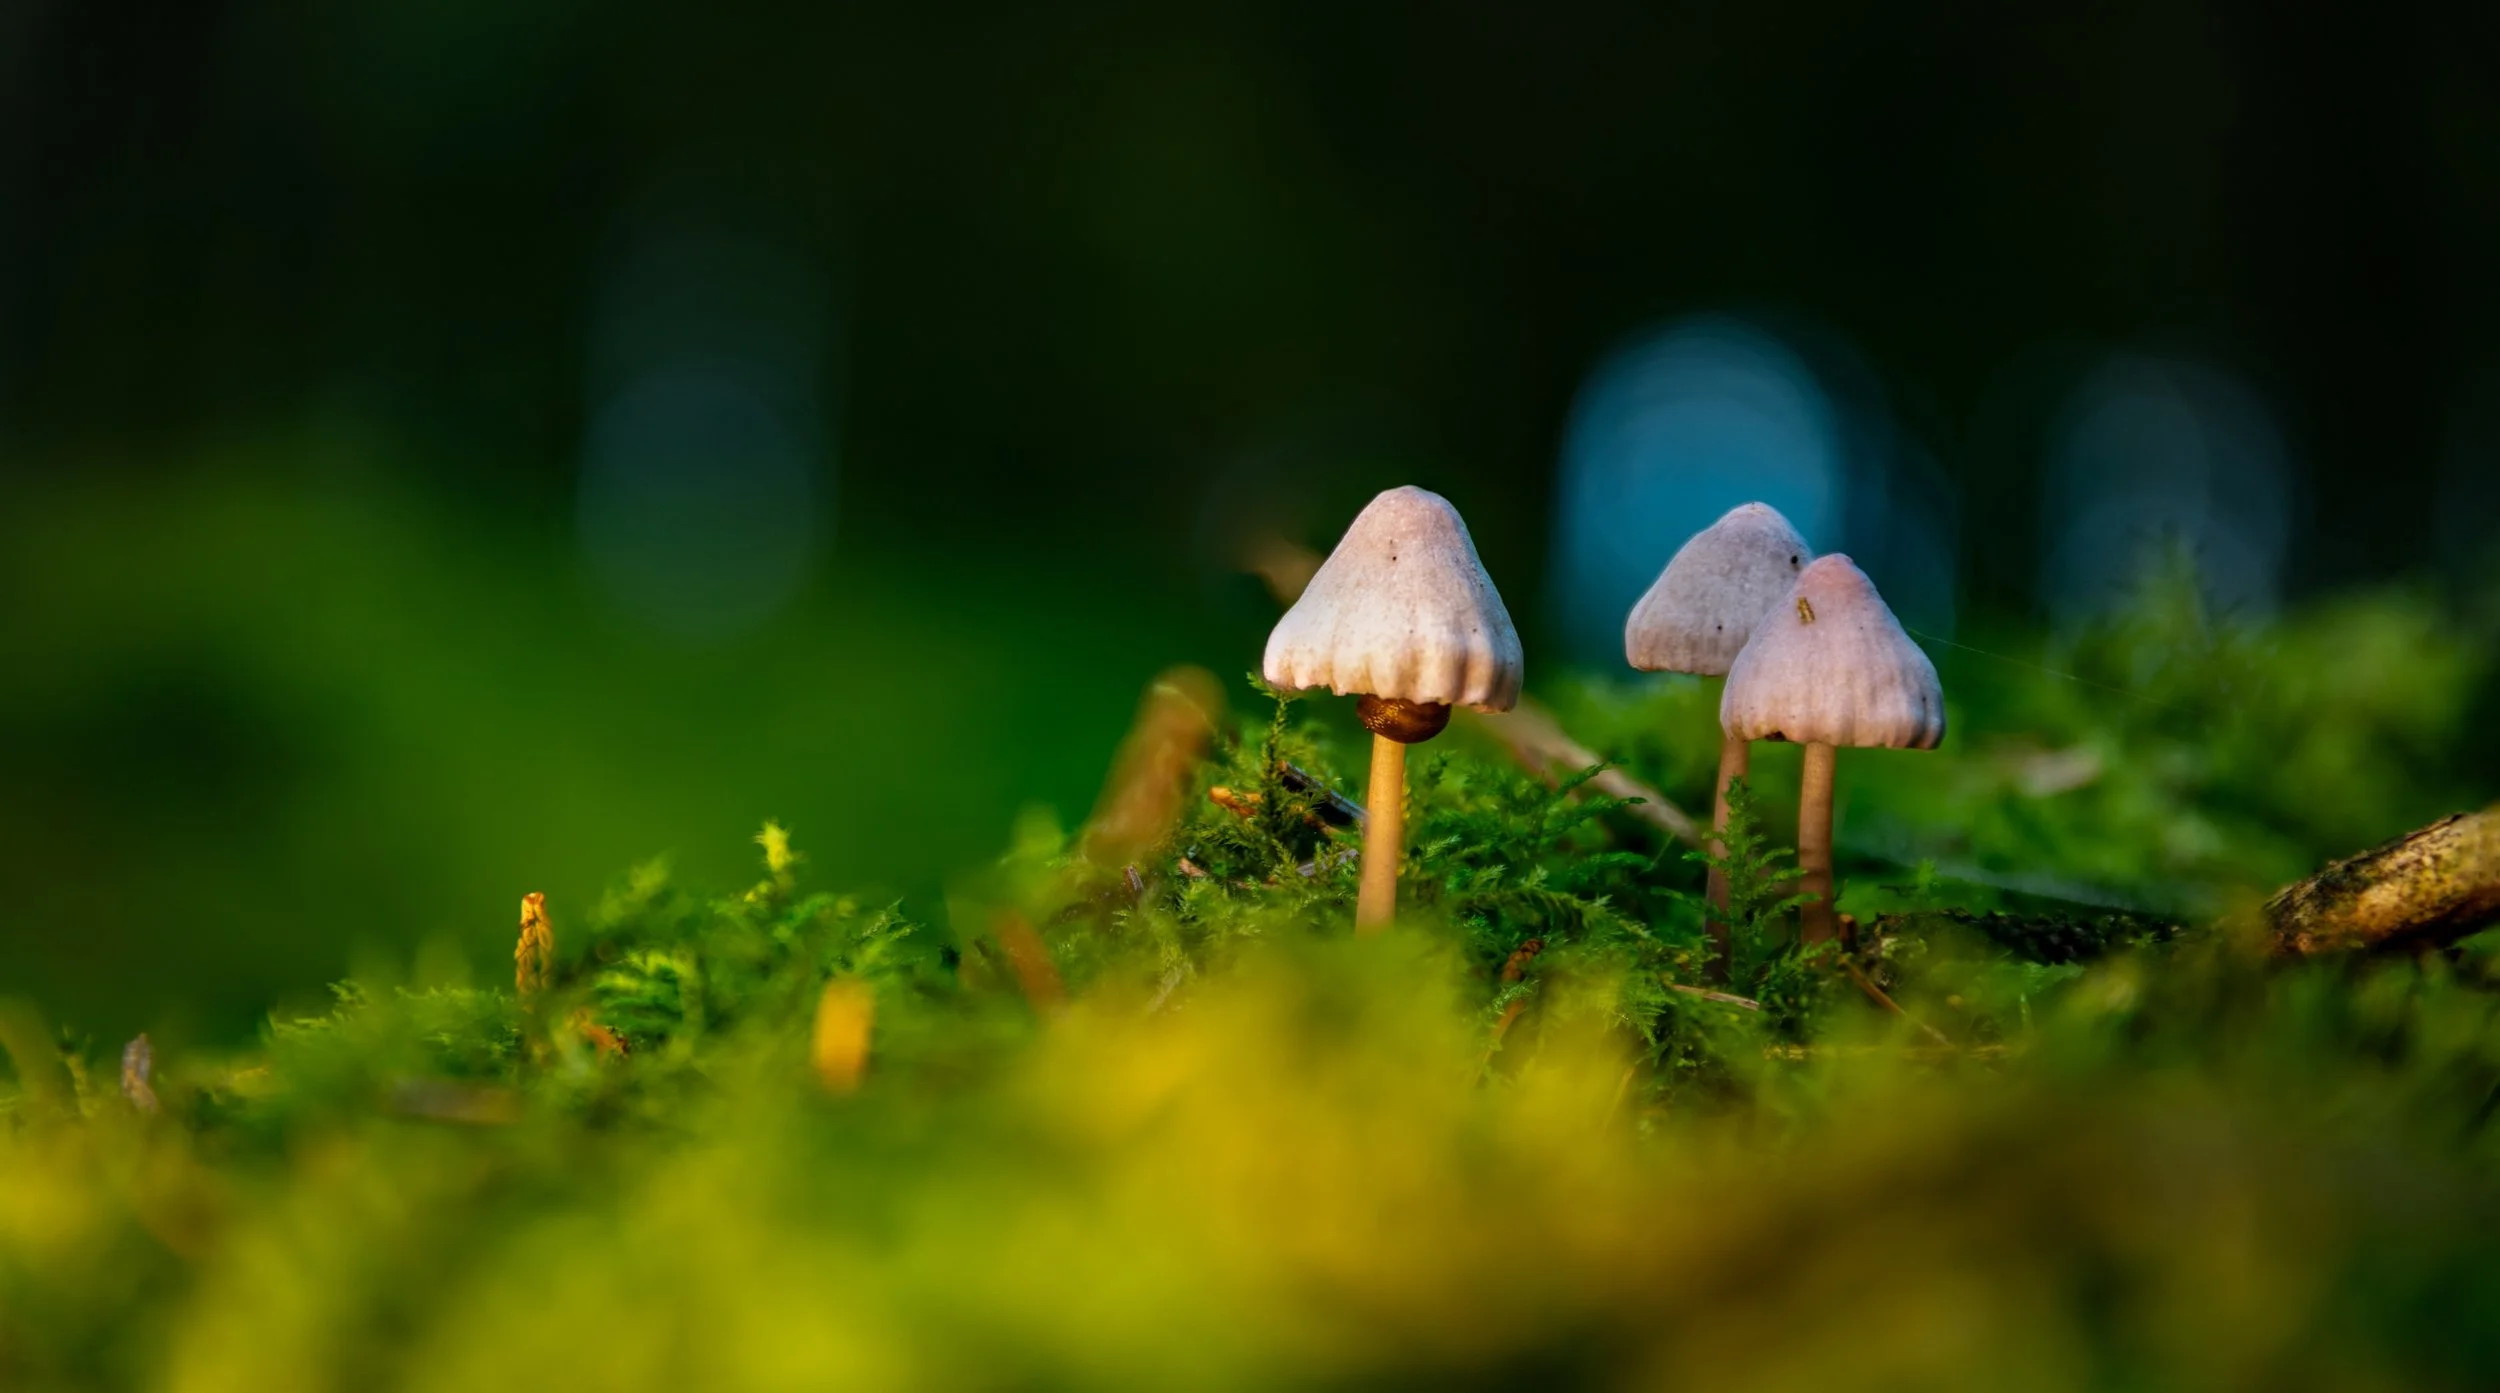
The next challenge was considerably smaller. I found a group of three mushrooms that were no bigger than my little fingernail.
This was the point where not having a macro lens could have become a problem, but again I decided to work with what I had rather than worry about the equipment I didn’t have.
I used the same basic approach, including artificial lighting and focus stacking, and took seven photographs. Once the images were blended together, I had a photograph where all three small mushrooms were sharp.
It was another example of why I don’t think a lack of specialist equipment should automatically stop you from trying a type of photography.
That doesn’t mean a macro lens wouldn’t make the process easier or allow me to photograph smaller subjects in greater detail. It would. But there is a difference between needing a particular piece of equipment and believing that you cannot make a photograph without it.
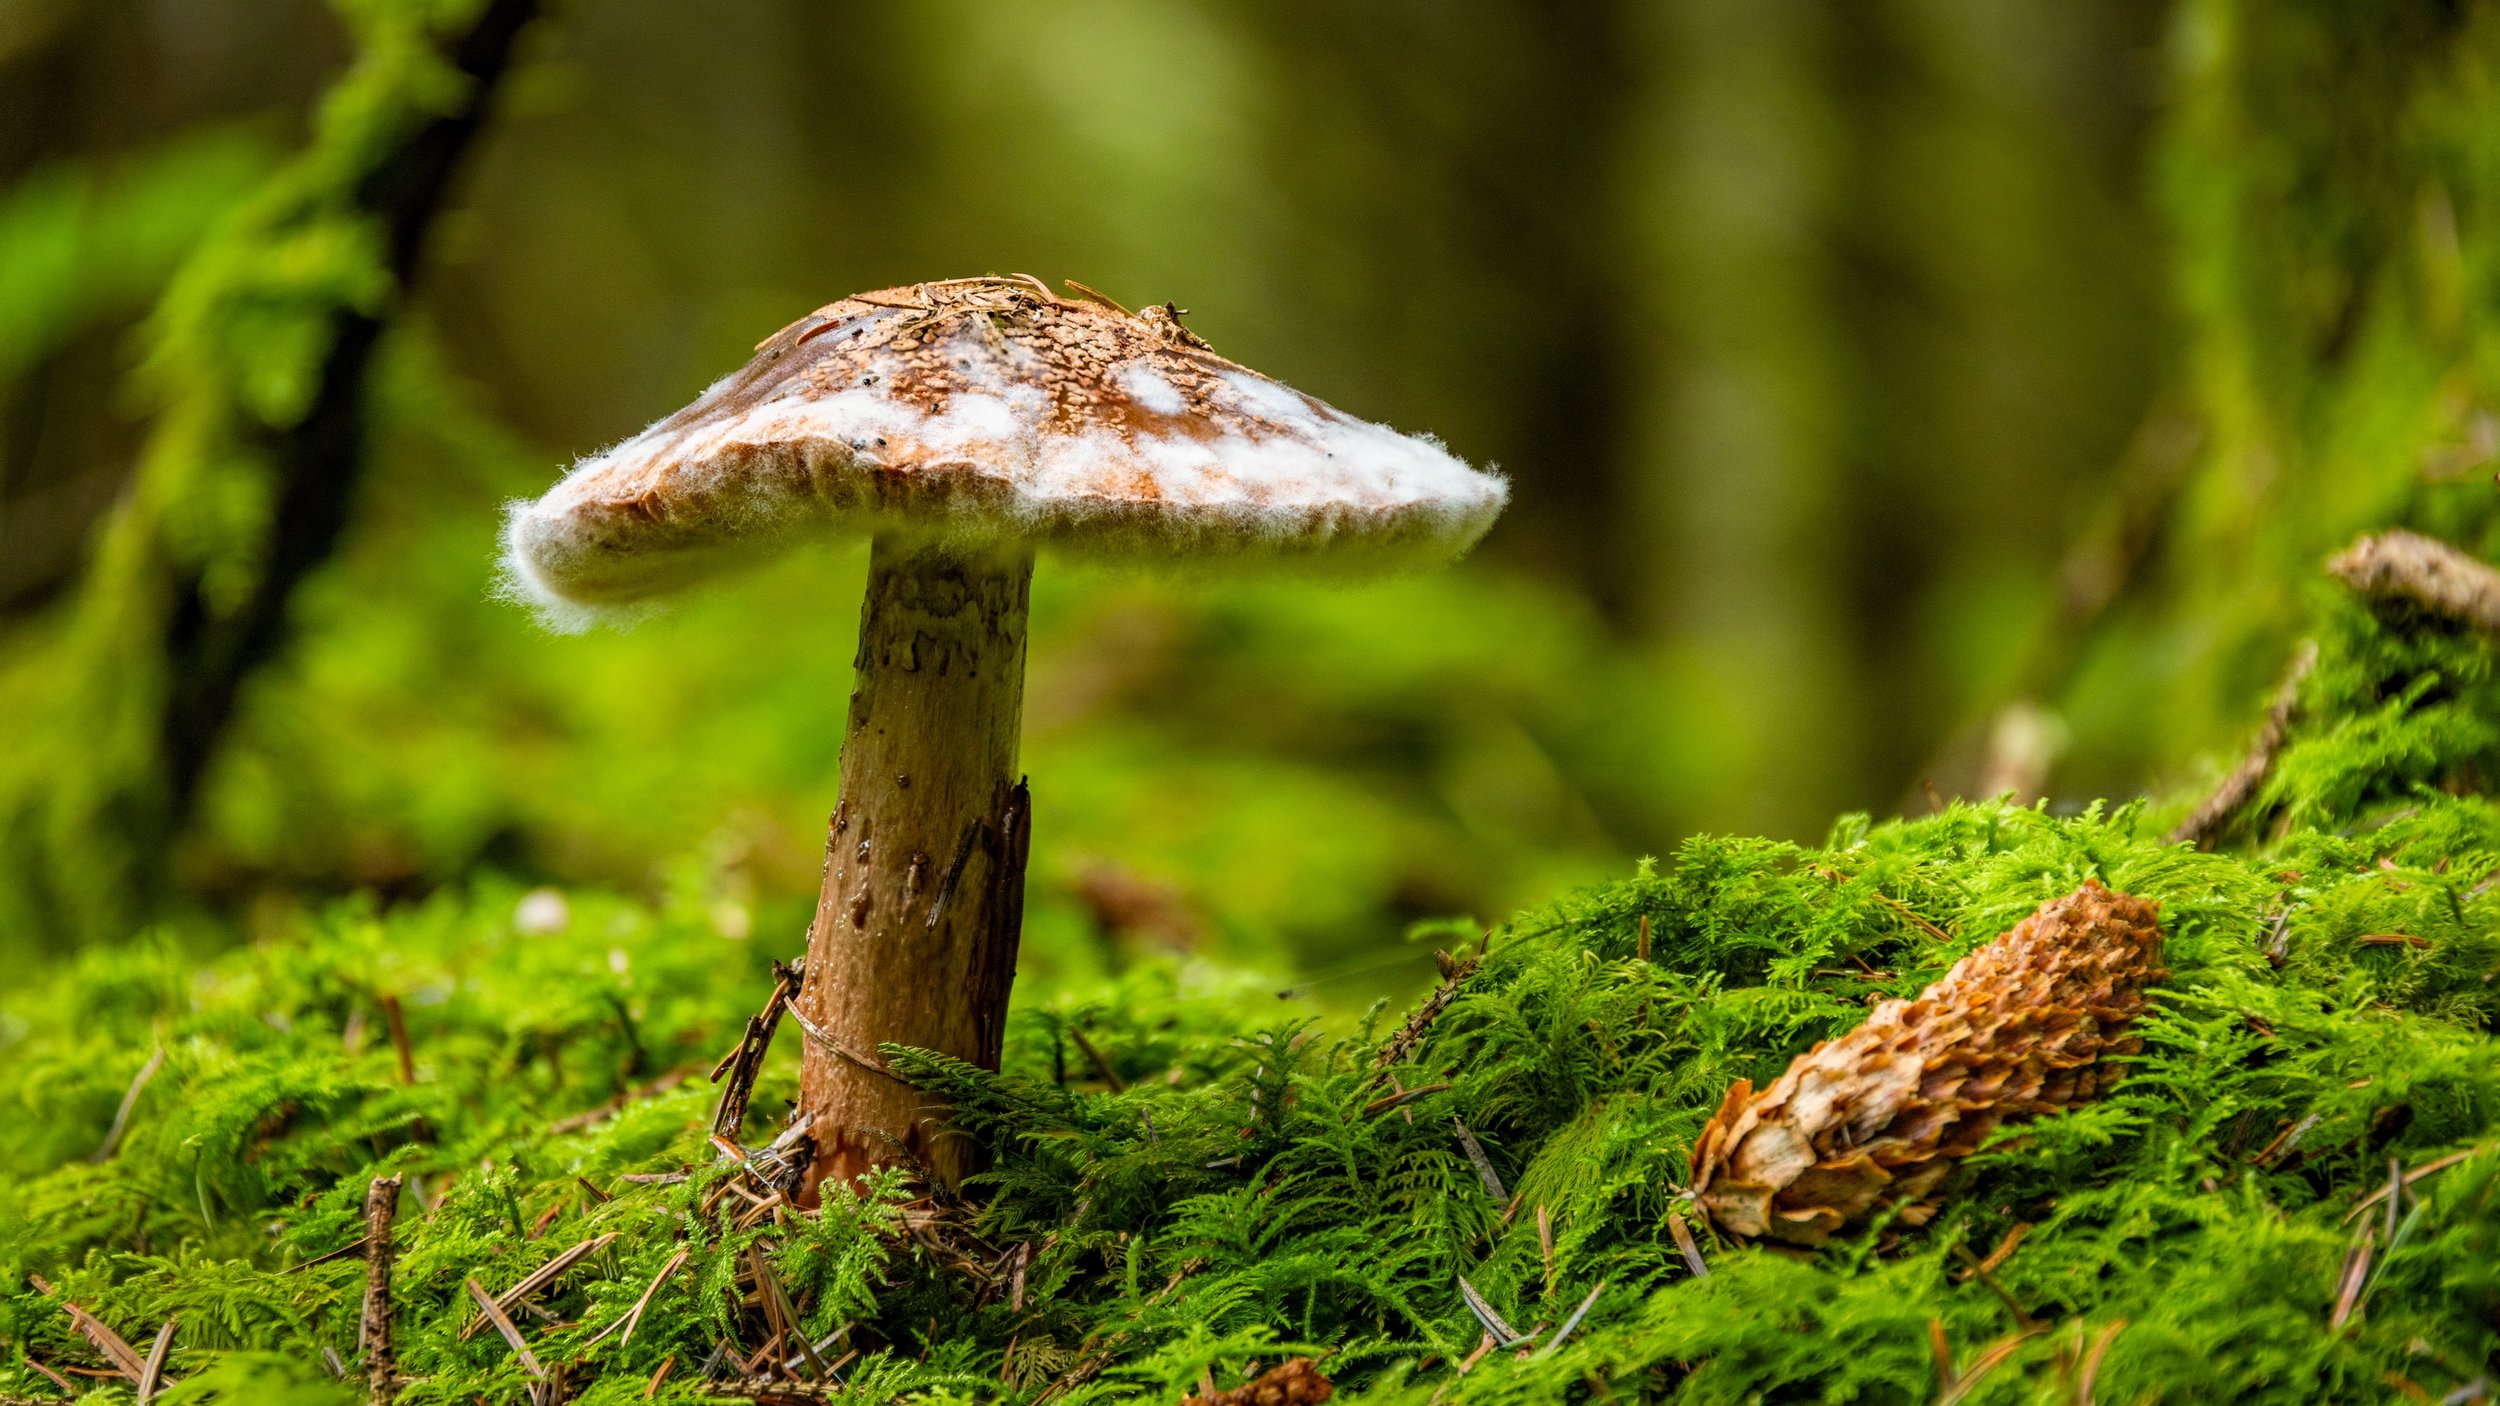
Later, I found a larger solitary mushroom with a pinecone beside it. The mushroom looked further through its life cycle, with spores visible around its edges, so I decided not to try to make it look perfect.
It was also positioned in natural light, so once again I left the artificial lighting in the bag.
This time I took 11 photographs, moving the focus through the subject before combining them in post-processing. The pinecone also became part of the composition rather than simply being something beside the mushroom.
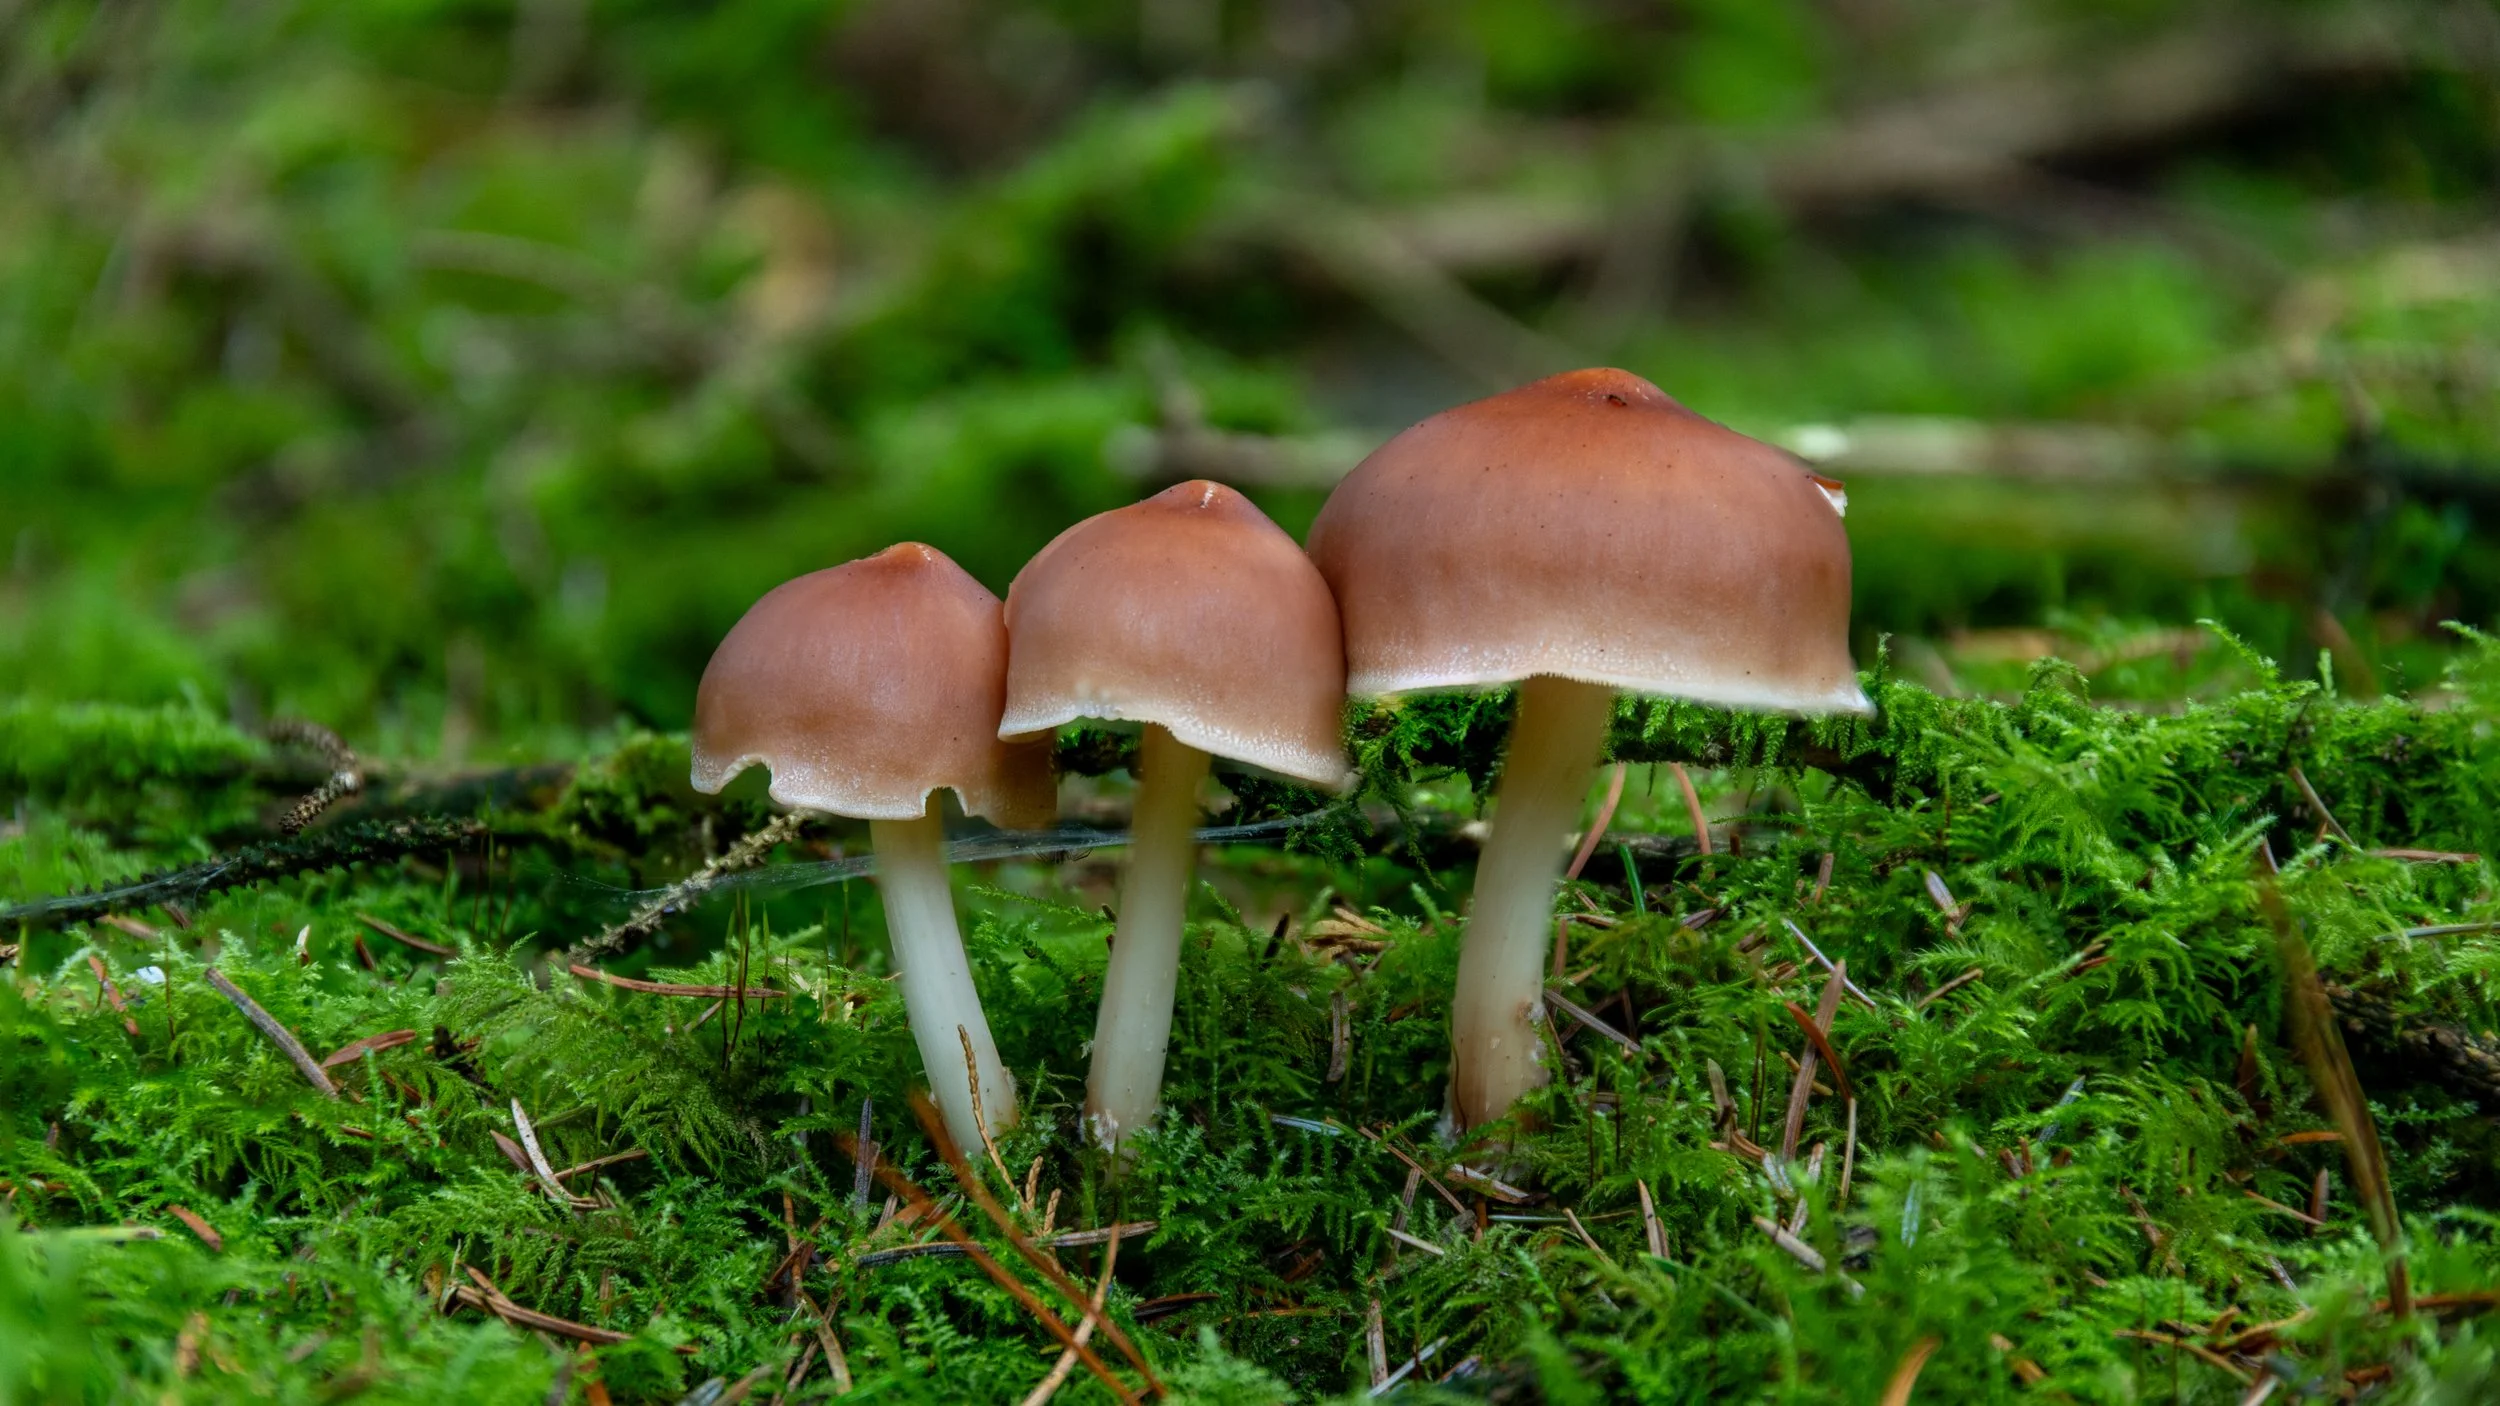
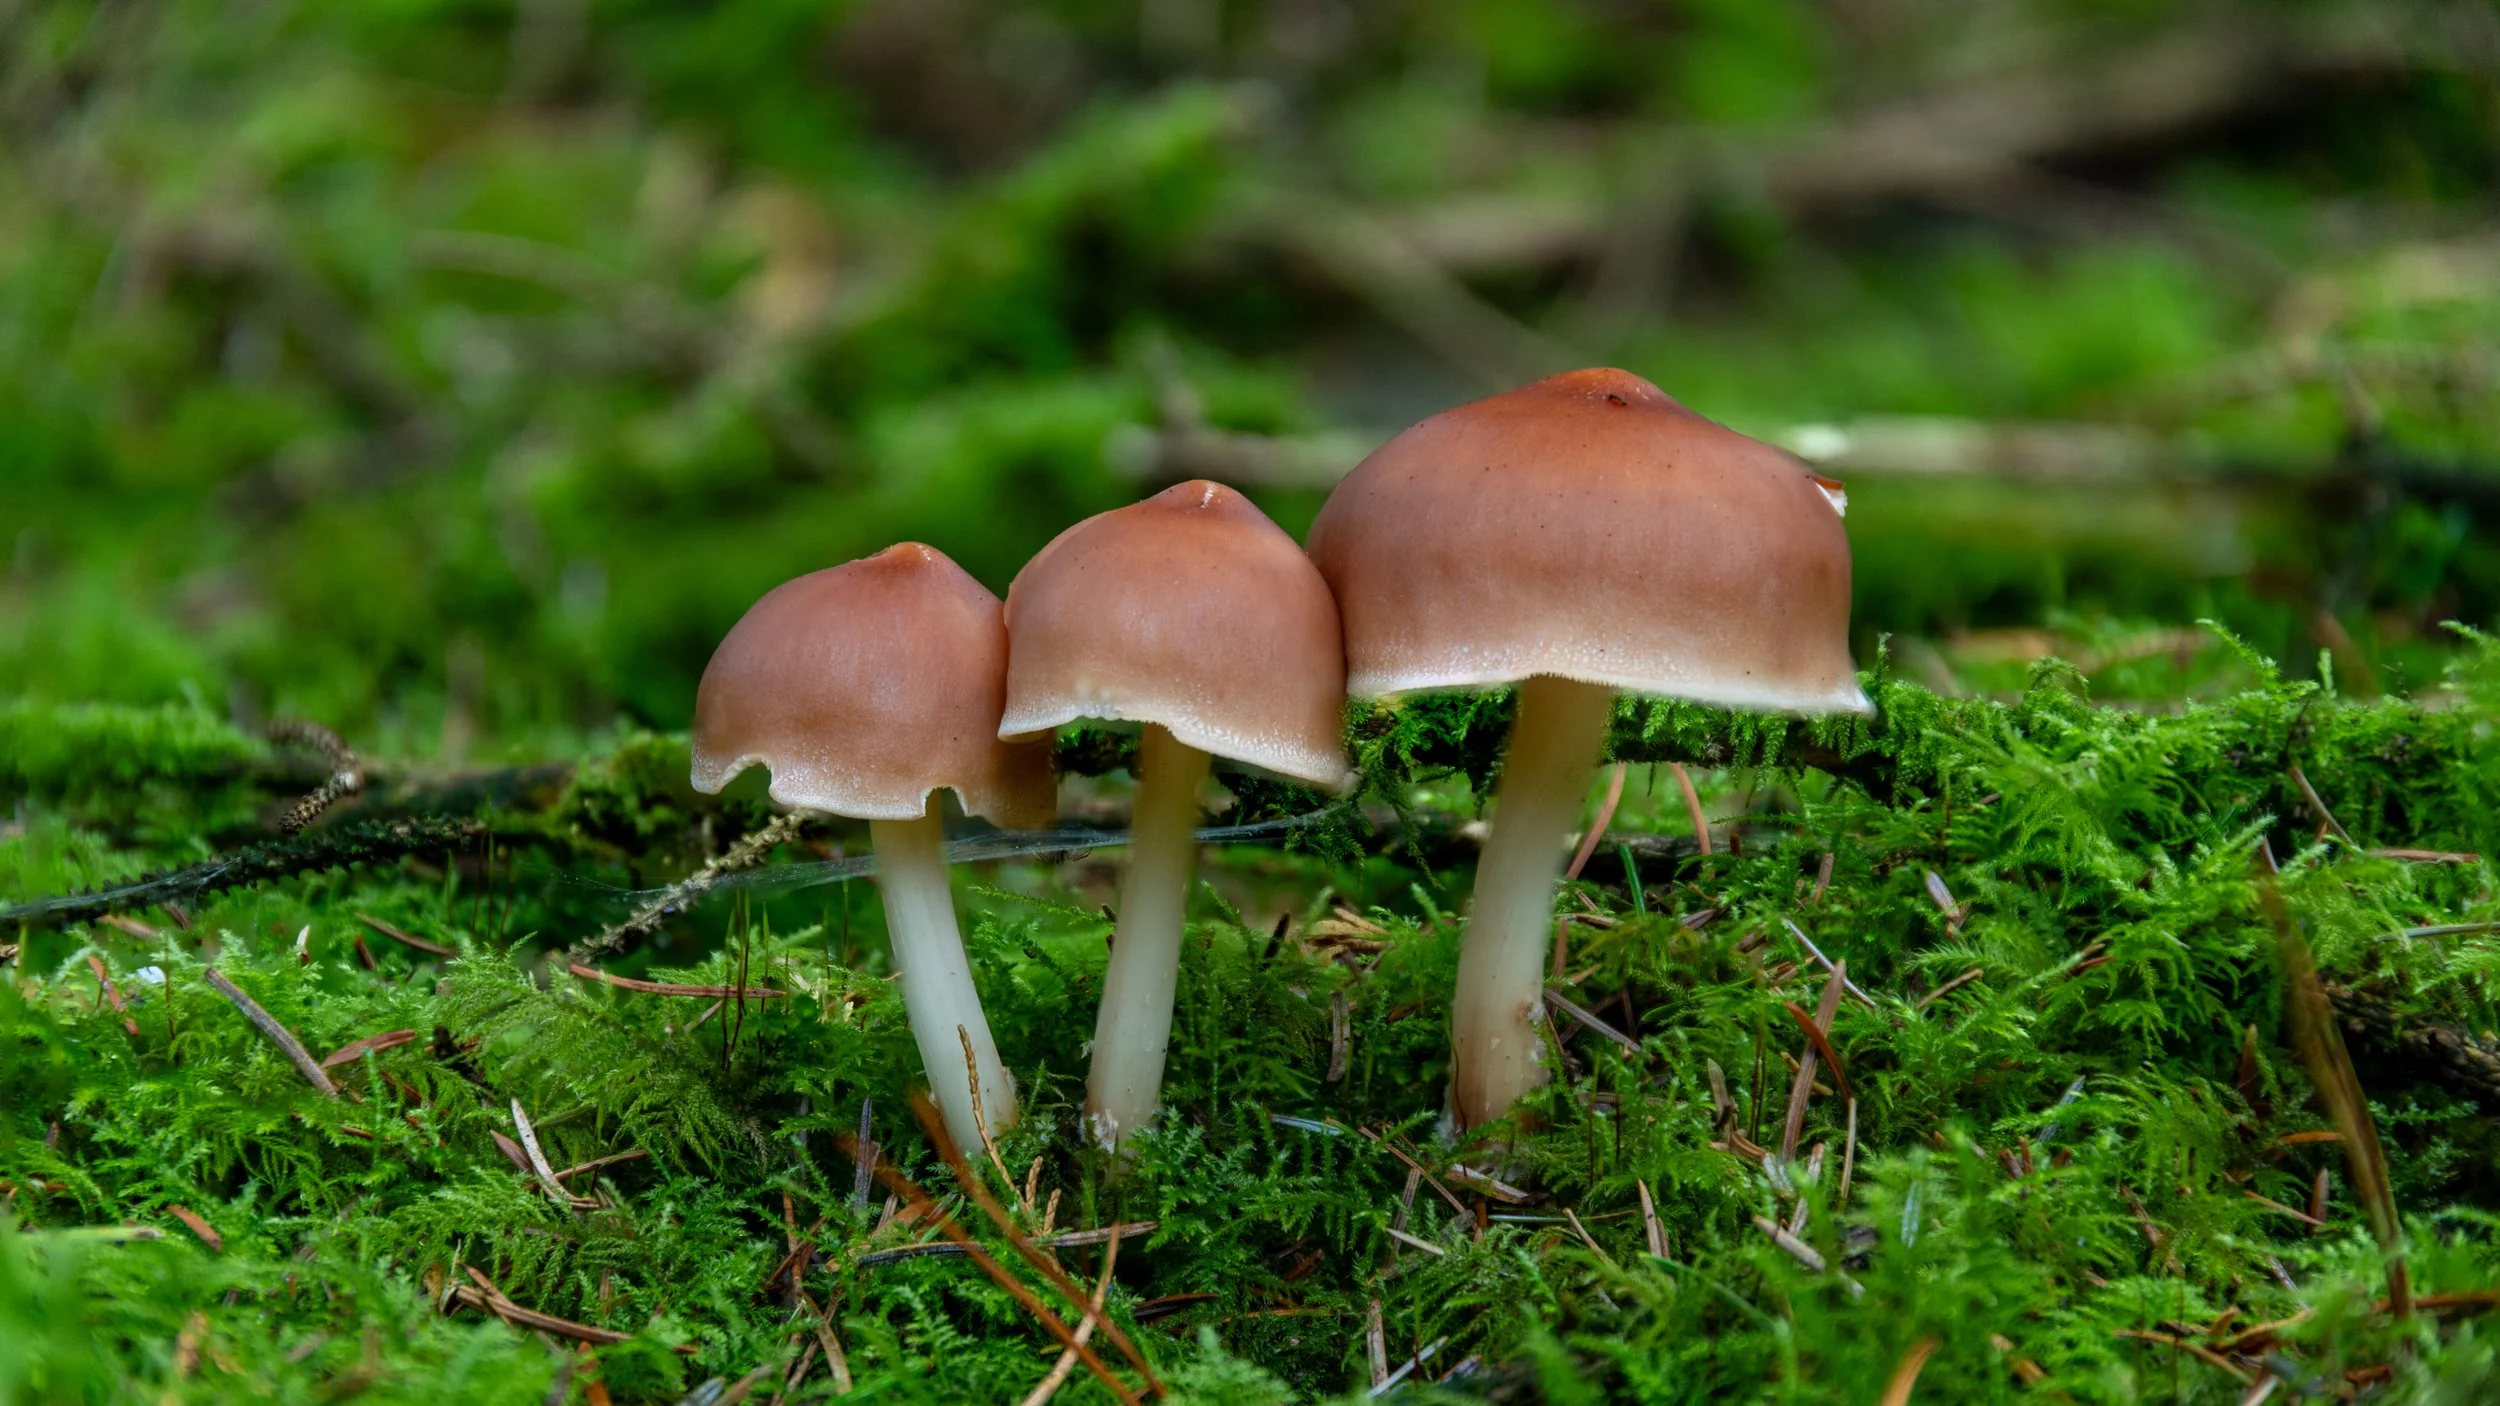
My final subject was another group of three mushrooms, this time growing at the base of a large tree. The tree provided a useful background and the positioning of the mushrooms gave me a simple composition to work with.
I used the same focus-stacking approach but again decided not to add artificial light. I took 16 photographs and blended them together to create the final image.
By the time I left the woods, I had photographed several different subjects using the same basic technique but with different approaches to light and composition.
The biggest lesson for me was that mushroom photography doesn’t necessarily require a macro lens or a complicated lighting setup. Those things can certainly give you more options, but focus stacking can be a very useful way of working with the equipment you already have.
The technique does require some discipline, though. You need to make sure you cover the entire subject with your focus points, and you need to keep the camera and subject as stable as possible between frames. If you miss an area, the final stack cannot recover it.
It is also worth taking more photographs than you think you need. When working very close to a subject, small changes in focus can make a significant difference. Taking an extra frame is usually easier than discovering later that you have missed part of the mushroom.
For me, that was the main value of this particular outing. I went into the woods without a macro lens, photographed subjects ranging from relatively large mushrooms down to ones the size of a fingernail, experimented with both natural and artificial light, and came away with images I was happy with.
I may eventually add a macro lens to the camera bag, but this shoot reminded me that the equipment you already own can often take you further than you might expect.
Sometimes the more useful challenge is not asking what equipment you are missing, but asking how you can approach the subject differently with what you already have.