
Behind the raw EP 6 | Foam Party

In the journey of landscape photography, every image captured tells a story of its own. From the serene tranquillity of a mountain lake at dawn to the fiery hues of a sunset over rolling hills, each scene holds its unique charm waiting to be unveiled through the lens.
In this blog post, I want to delve into the behind-the-scenes of editing images from my recent landscape photography shoot. Join me as we explore the workflow of my editing process, my reflections on each image, and the lessons we can extract together.
This week’s Image: Foam Party
Now there’s an interesting story behind the images from this week’s instalment, to read the full insights, check out my Blog on the shoot. For now, I am going to talk you through my thoughts, edit and workflow for the image I selected and I hope you gain some insights to help your own editing workflow/skills.

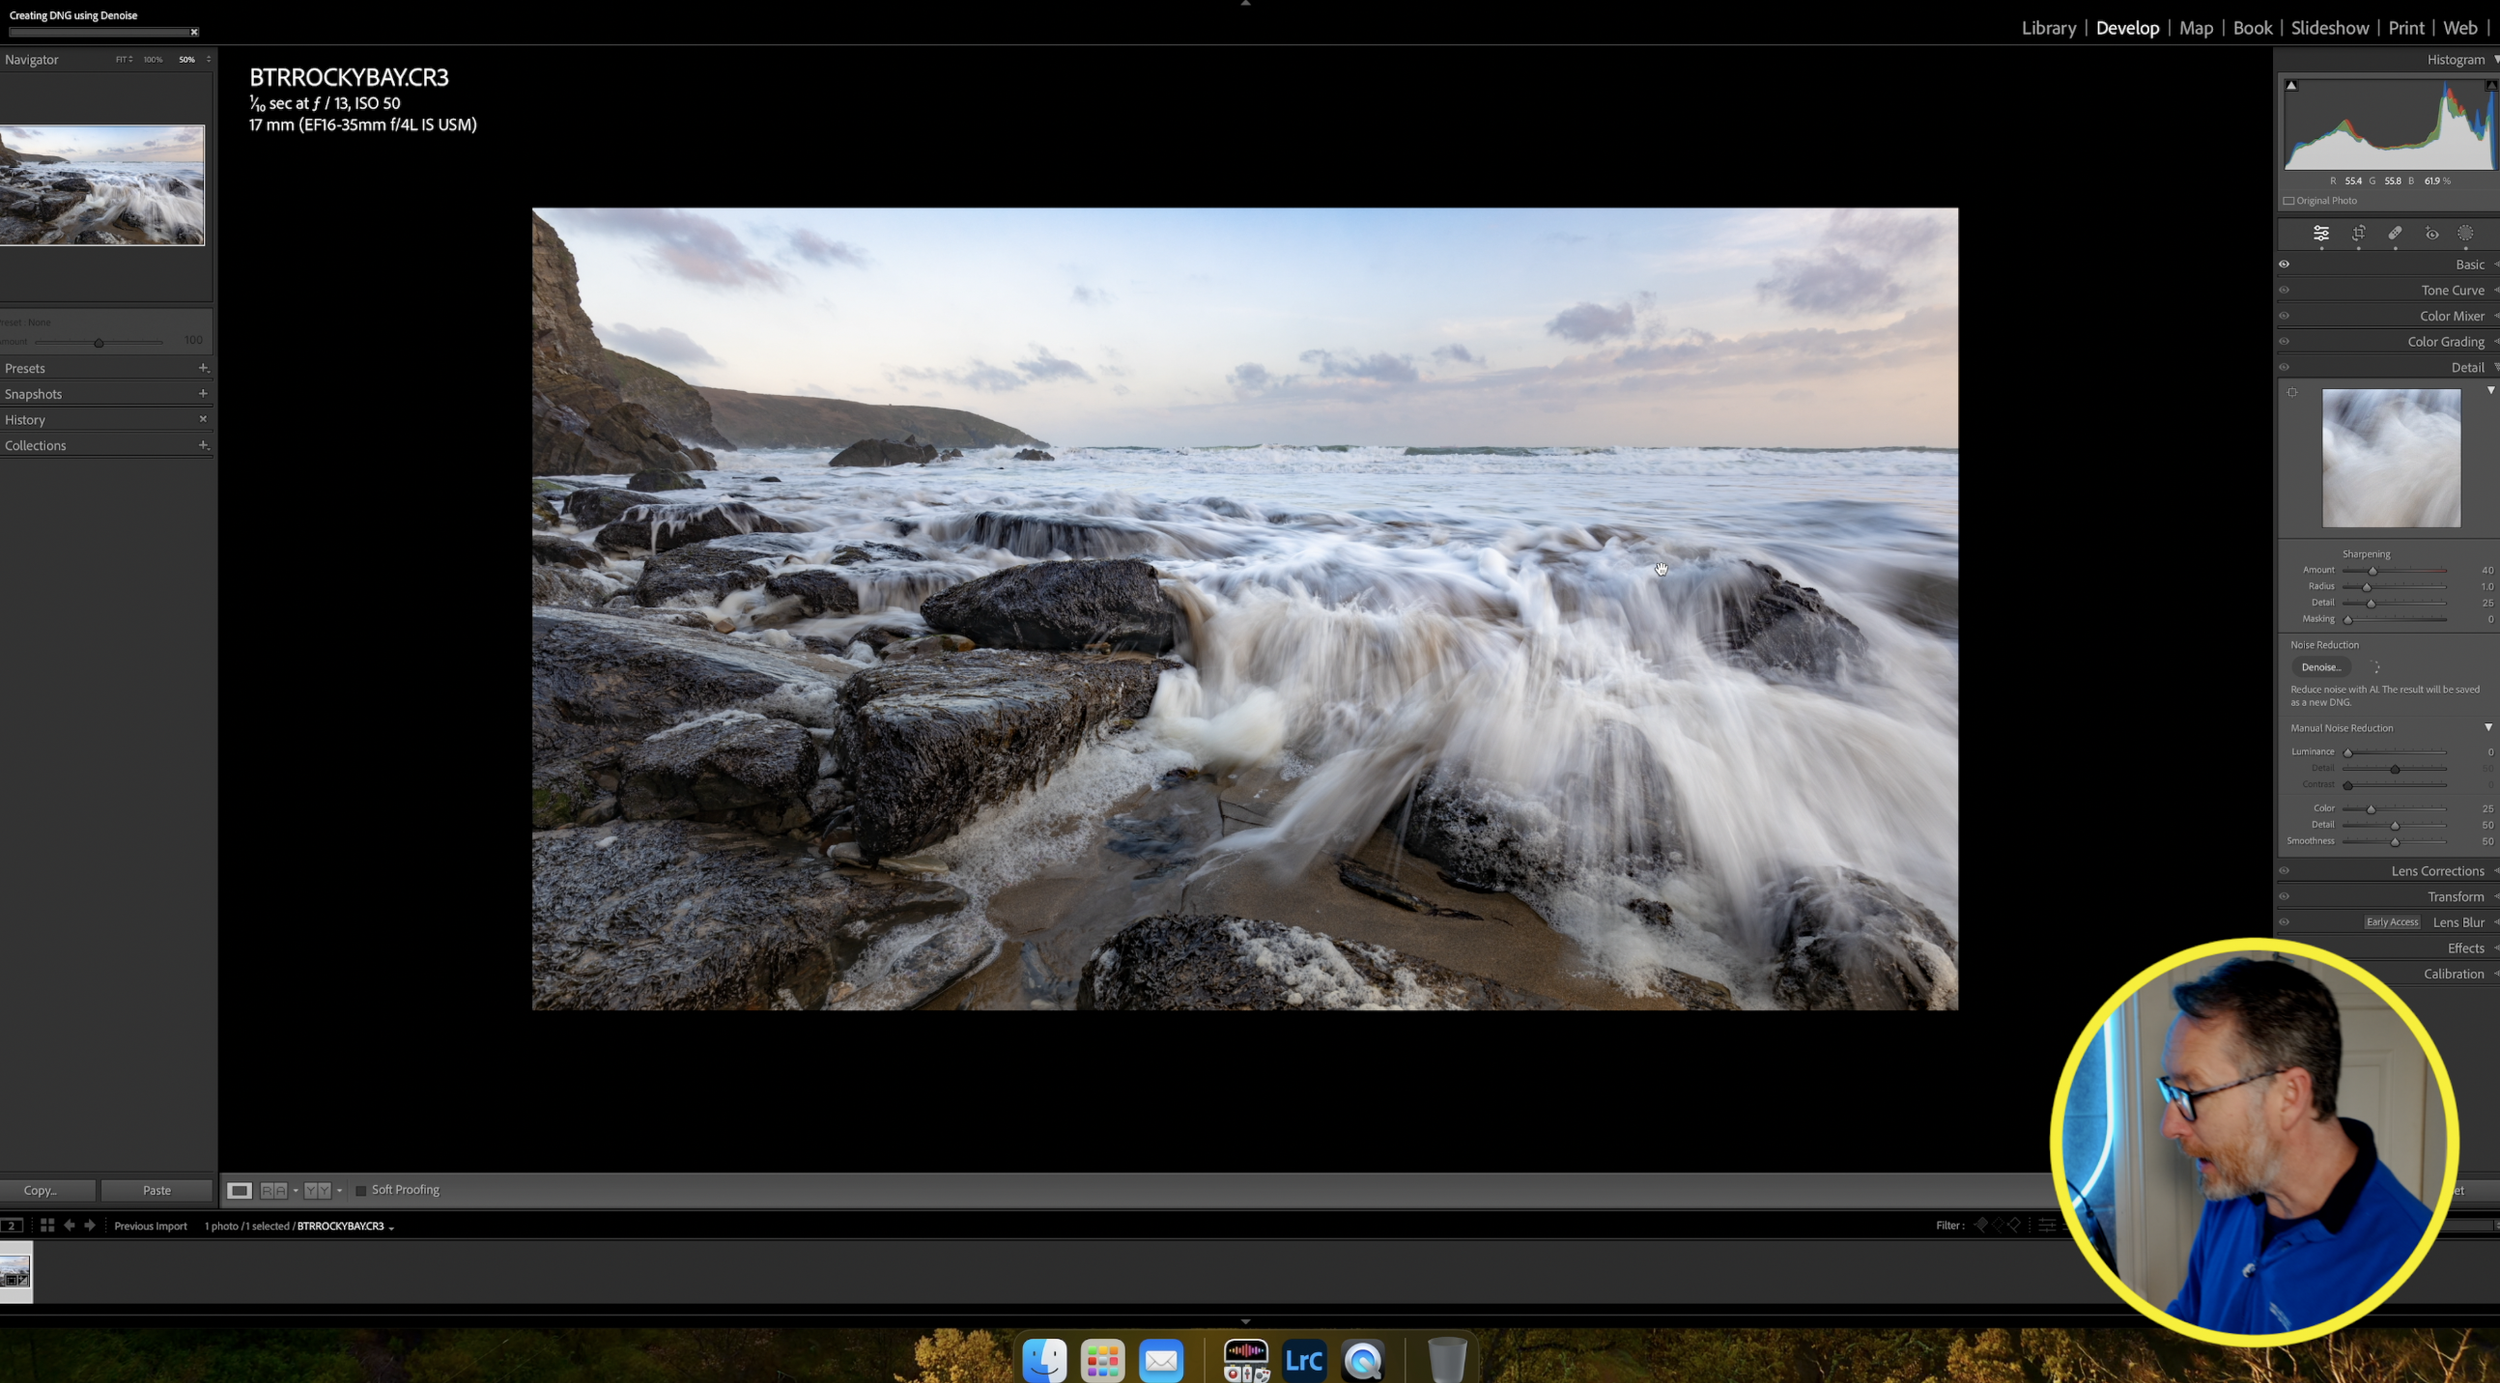
RAW File
I had a choice of images to use for this edit, as the incoming wave created unique flows, textures, shapes and movement as it cascaded over the rocks, the image I chose presented the flow the best for me.
To start with I followed my usual steps of adjusting the horizon, checking white balance and then applying some basic edits to bring out the detail in the shot.
I had a couple of birds in the scene which needed to be removed as they were blurred due to the 1/10-second shutter speed and I used my dehaze trick again to show them easier in the image.
I wanted to bring out the detail in the water so by using a radial gradient I could brighten the star of the show and then add some texture to the water to add some punch to the shot. This I felt was the best way to showcase the image. The sea foam also added some great elements to the shot, as it was part of every frame I managed to capture
You can see my full workflow, the raw and final edit transformation in the accompanying video on my YouTube channel, linked below
Thanks for reading & your continued support
Darren